This is a series about my journey in building a multipurpose PC using virtualisation technology and RGB strips. This is part 3, which is about putting the pieces together and getting a prototype running. If you want know about why these pieces, try part 2, if you want to know about the software challenges and solutions skip to part 4.
I had a budget in mind of somewhere between £2000 and £3000 - about the same cost as a new 2020 Macbook Pro, and given inflation, the same sort of money I put down 5 years ago.
So with some remaining software questions notwithstanding, the final component list looked something like this which was around £3000 all in at time of purchase.
- Ryzen 3900X
- 64GB RAM
- “Enthusiast” motherboard
- nVidia 2060 Super
- 2x2TB SSD
- 2x8TB HDD
- Pure Base 500DX case (comes with fans)
- A Be!Quiet heatsink like in the pictures!
- 27" monitor
You can see something very close to the actual list on PC Part Finder. I have some slower RAM and the Dark version of the heatsink, but you get the idea.
Unboxing and assembly
This would’ve been a perfect time to drop a load of pictures in that showed what I did, but there are plenty of videos about putting pieces together. Just about the same time this came together, Henry Cavill also built a PC!
So in lieu of a blow-by-blow of my assembly process, I want to make some observations about PC building in 2020 compared to 2000.
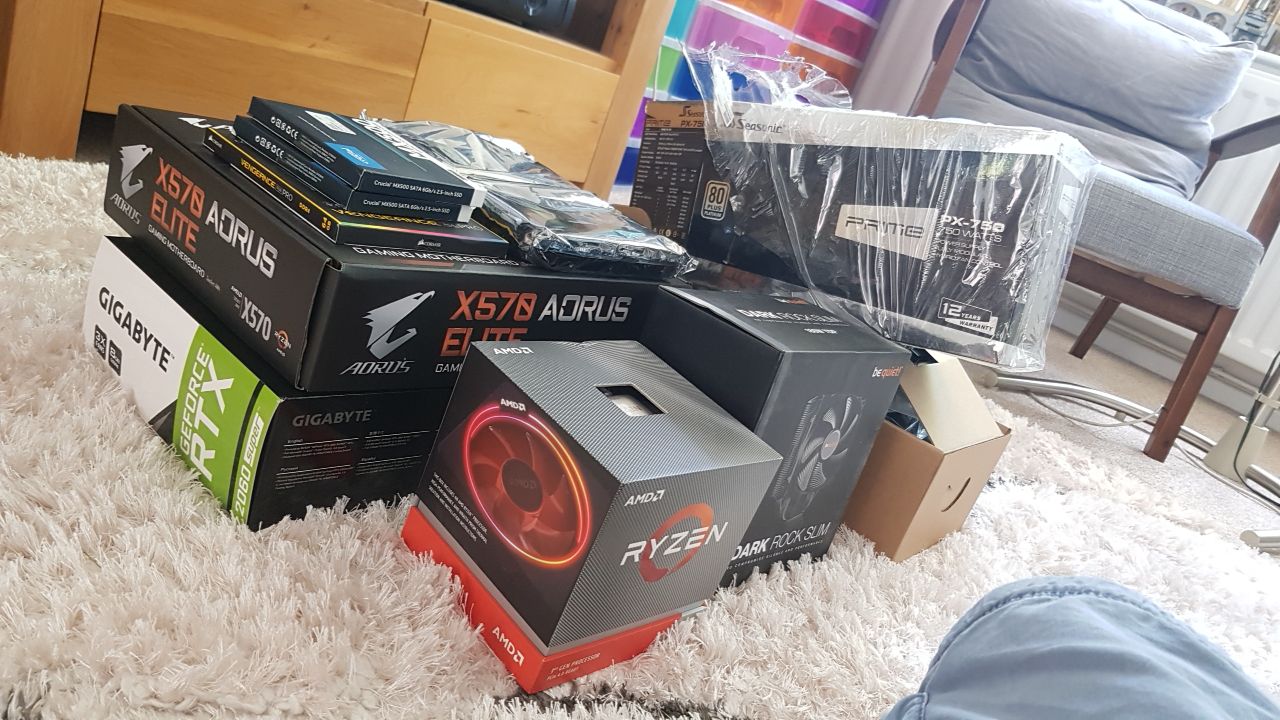
A pile of hardware in my living room
Packaging really hasn’t changed much. Motherboard boxes are motherboard shaped and come with lots of heat-sealed plastic bags full of cables and processor boxes are really heat-sink boxes with a small processor insert. Graphics cards have gotten big! The box is the same size as the motherboard, and the fancy modular power supply comes in a velvet-y bag!
My overwhelming sense was that the premium components I bought felt pretty premium without egregiously superfluous packaging. I don’t know if there’s been a “crazy packaging phase” for components, or if the legacy of PC part packaging has left us without too much stuff you can’t recycle. Regardless, I felt good about my choices.
Some of the satisfaction was the part choices I’d made. Two decades earlier, I had no choice but to focus purely on the price/performance ratio, often with the goal of getting that price down as far as it could go. In 2000 this seemed to mean green motherboards and plain steel case frames. If I was lucky, some part of it was powder coated. Probably blue. Probably the power supply.
Now we have some beautifully anodized parts on the power supply, the I/O plate comes attached to the motherboard, lots of white (not cream!) powder coating all over the case and a motherboard PCB that has been designed and produced to seen as much as to be used, in matt black FR4. Where RAM used to be a “PCB with some chips on”, the PCB is now encased with a heat spreader and I’ve got some twinkly lights on it! Happy days!
Putting the system together was much as I remember it from 2000. Be gentle, then whack it when things didn’t fit together quite right …
The major differences were the modular power supply and case layout. Gone are the 5 1/4 and 3 1/2 inch drive cages at the front of the case for CD drives or front panels; gone is the question of how to tie up unused power cables and keep them away from the airflow. In their place is a case that has options, depending on your needs and configuration, and a power supply that you can mount what you need to and no more. The case layout is such that the happy path to routing cables gives you a pretty clean look. Using some strategically placed cut-outs to poke cables through, you find most of the cables are forced round the back of the case. This is stark contrast from 2000 where there really wasn’t any compartmentalisation in the cases I used - everything went in one big chamber and you just kinda worked around what leftover cables you had.
For my needs, I filled this case up. I used every cage, holder and cable (nearly) to wire everything together. And it was joyous.

The assembled PC under my desk
The construction of this large kit took longer than I expected, spread out over a couple of different sessions and there were a few things that I’d need to come back and tidy up, but the result was worth it. I had achieved something beautiful to look at, which definitely wasn’t what I would’ve constructed in 2000.
Hypervisor installation
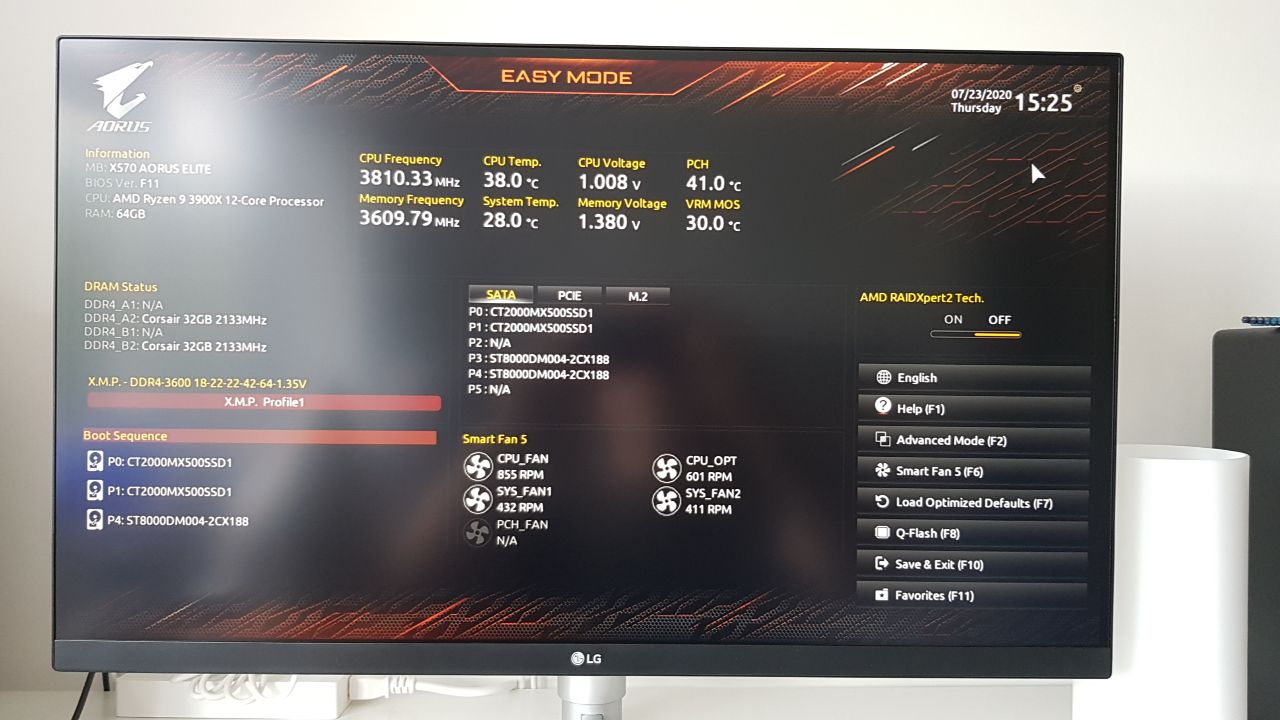
Working PC hardware with XMP tuned RAM values
A brief bit of RAM tuning later, and I was ready to put some software on this beast.
The first effort here was Proxmox, which installed and booted perfectly. It let me configure a ZFS mirror over the two SSD drives as the boot drive and with only a few questions (far fewer than even the Ubuntu intaller), was up and running.
Although I’d seen some images of the Proxmox interface, I hadn’t really spent any time playing with it. This first install was about experimentation. I had made no commitments to moving data off other systems yet, so very little impact if I decided that I’d made a mistake and needed to wipe it and start again.
GPU passthrough experiments
This entire project hinges on the ability to “pass through” hardware from the host hypervisor to the virtual machines within. The crucial part of this is the graphics card. All my reading suggested there was a way of doing this, and it basically amounted to using some of the VFIO technology within the Linux kernel. The necessary enablers are a) prevent the graphics card from loading in the host (blacklist the relevant kernel modules), b) hook the graphics card with a VFIO driver and c) ensure the graphics card has it’s own IOMMU group.
I’ll write more about IOMMU and the other enablers here in the next part.
So, I enabled a variety of tickboxes on the BIOS and under Proxmox, and then set up a virtual machine with the GPU IOMMU group (in it’s entirety) accessible.
The screen went blank and …
Nothing.
I tried moving the GPU to the other slot, but without a graphics card output the system wouldn’t boot. I tried adding boot parameters, disabling graphics drivers in Proxmox and changing a ton of different settings on the VM creation pages. All without any success.
I ordered a cheap second graphics card that was deliberately not another nVidia (an ATi Sapphire HD5450). Since the only thing I needed this for was to convince the motherboard it had a graphics card, I picked one with an HDMI output (so I could plug it into the monitor as well as my main GPU) and that was passive, to keep the noise down.
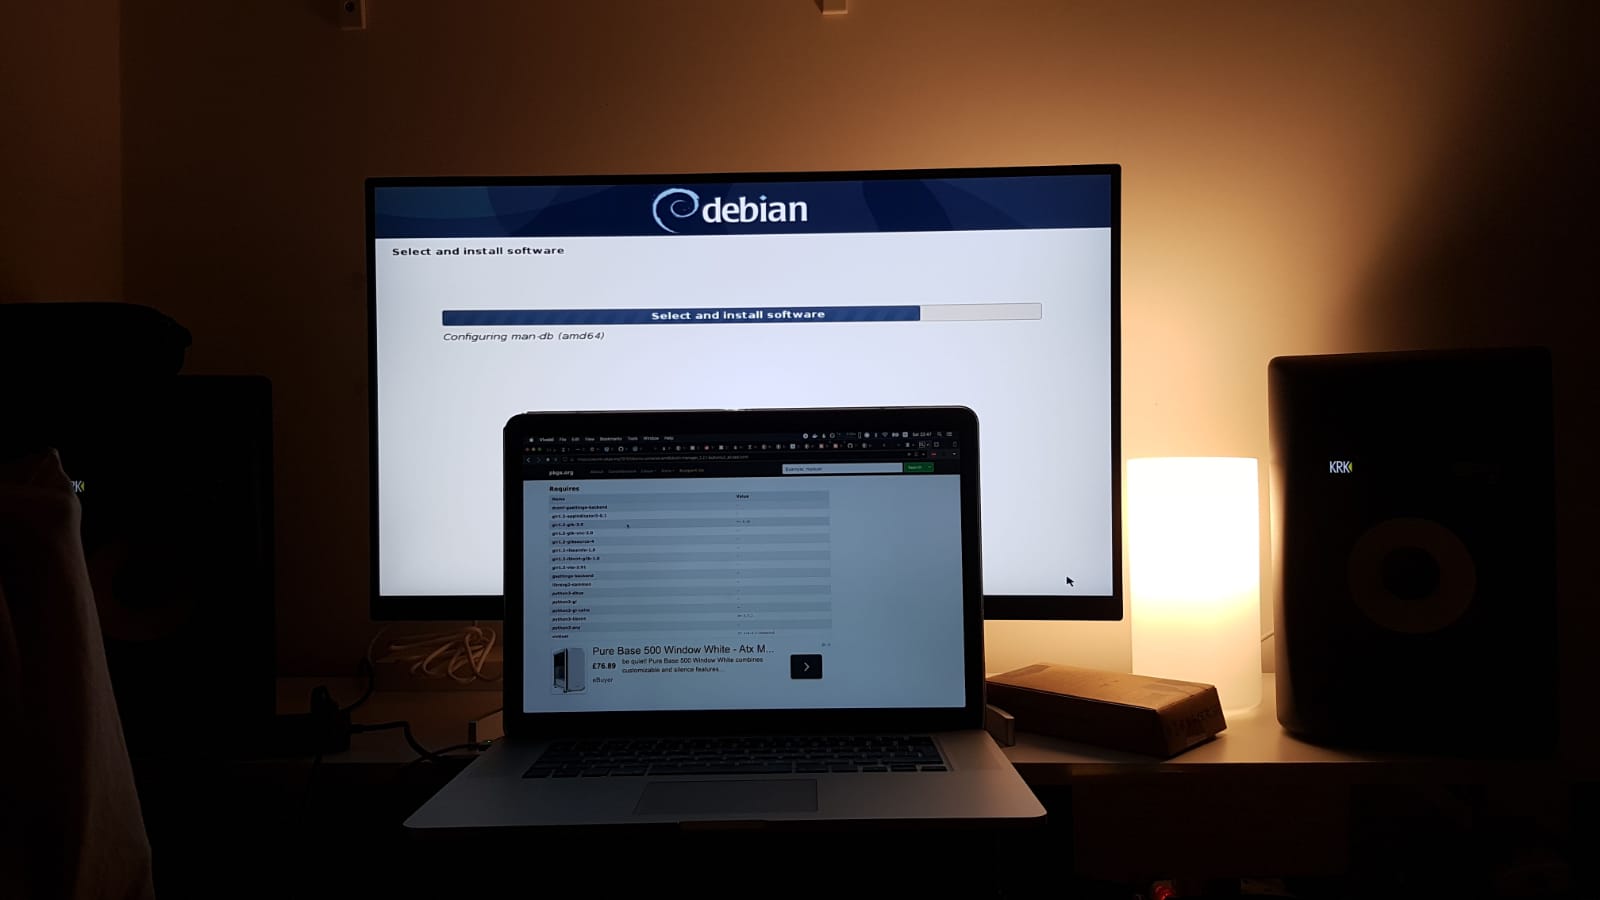
Installing Debian on the hardware
I played with some Linux installs while I waited, including installing Debian on the hardware directly over Proxmox. None of these felt quite right, so I went back to Proxmox when the graphics card arrived a week later.
Finally, with the motherboard convinced it had a graphics card to snuggle, the other was free to be used by virtual machines. I watched the fastest installation of Windows ever (installed from an ISO on an SSD!) and the core premise of this project was held to be true.
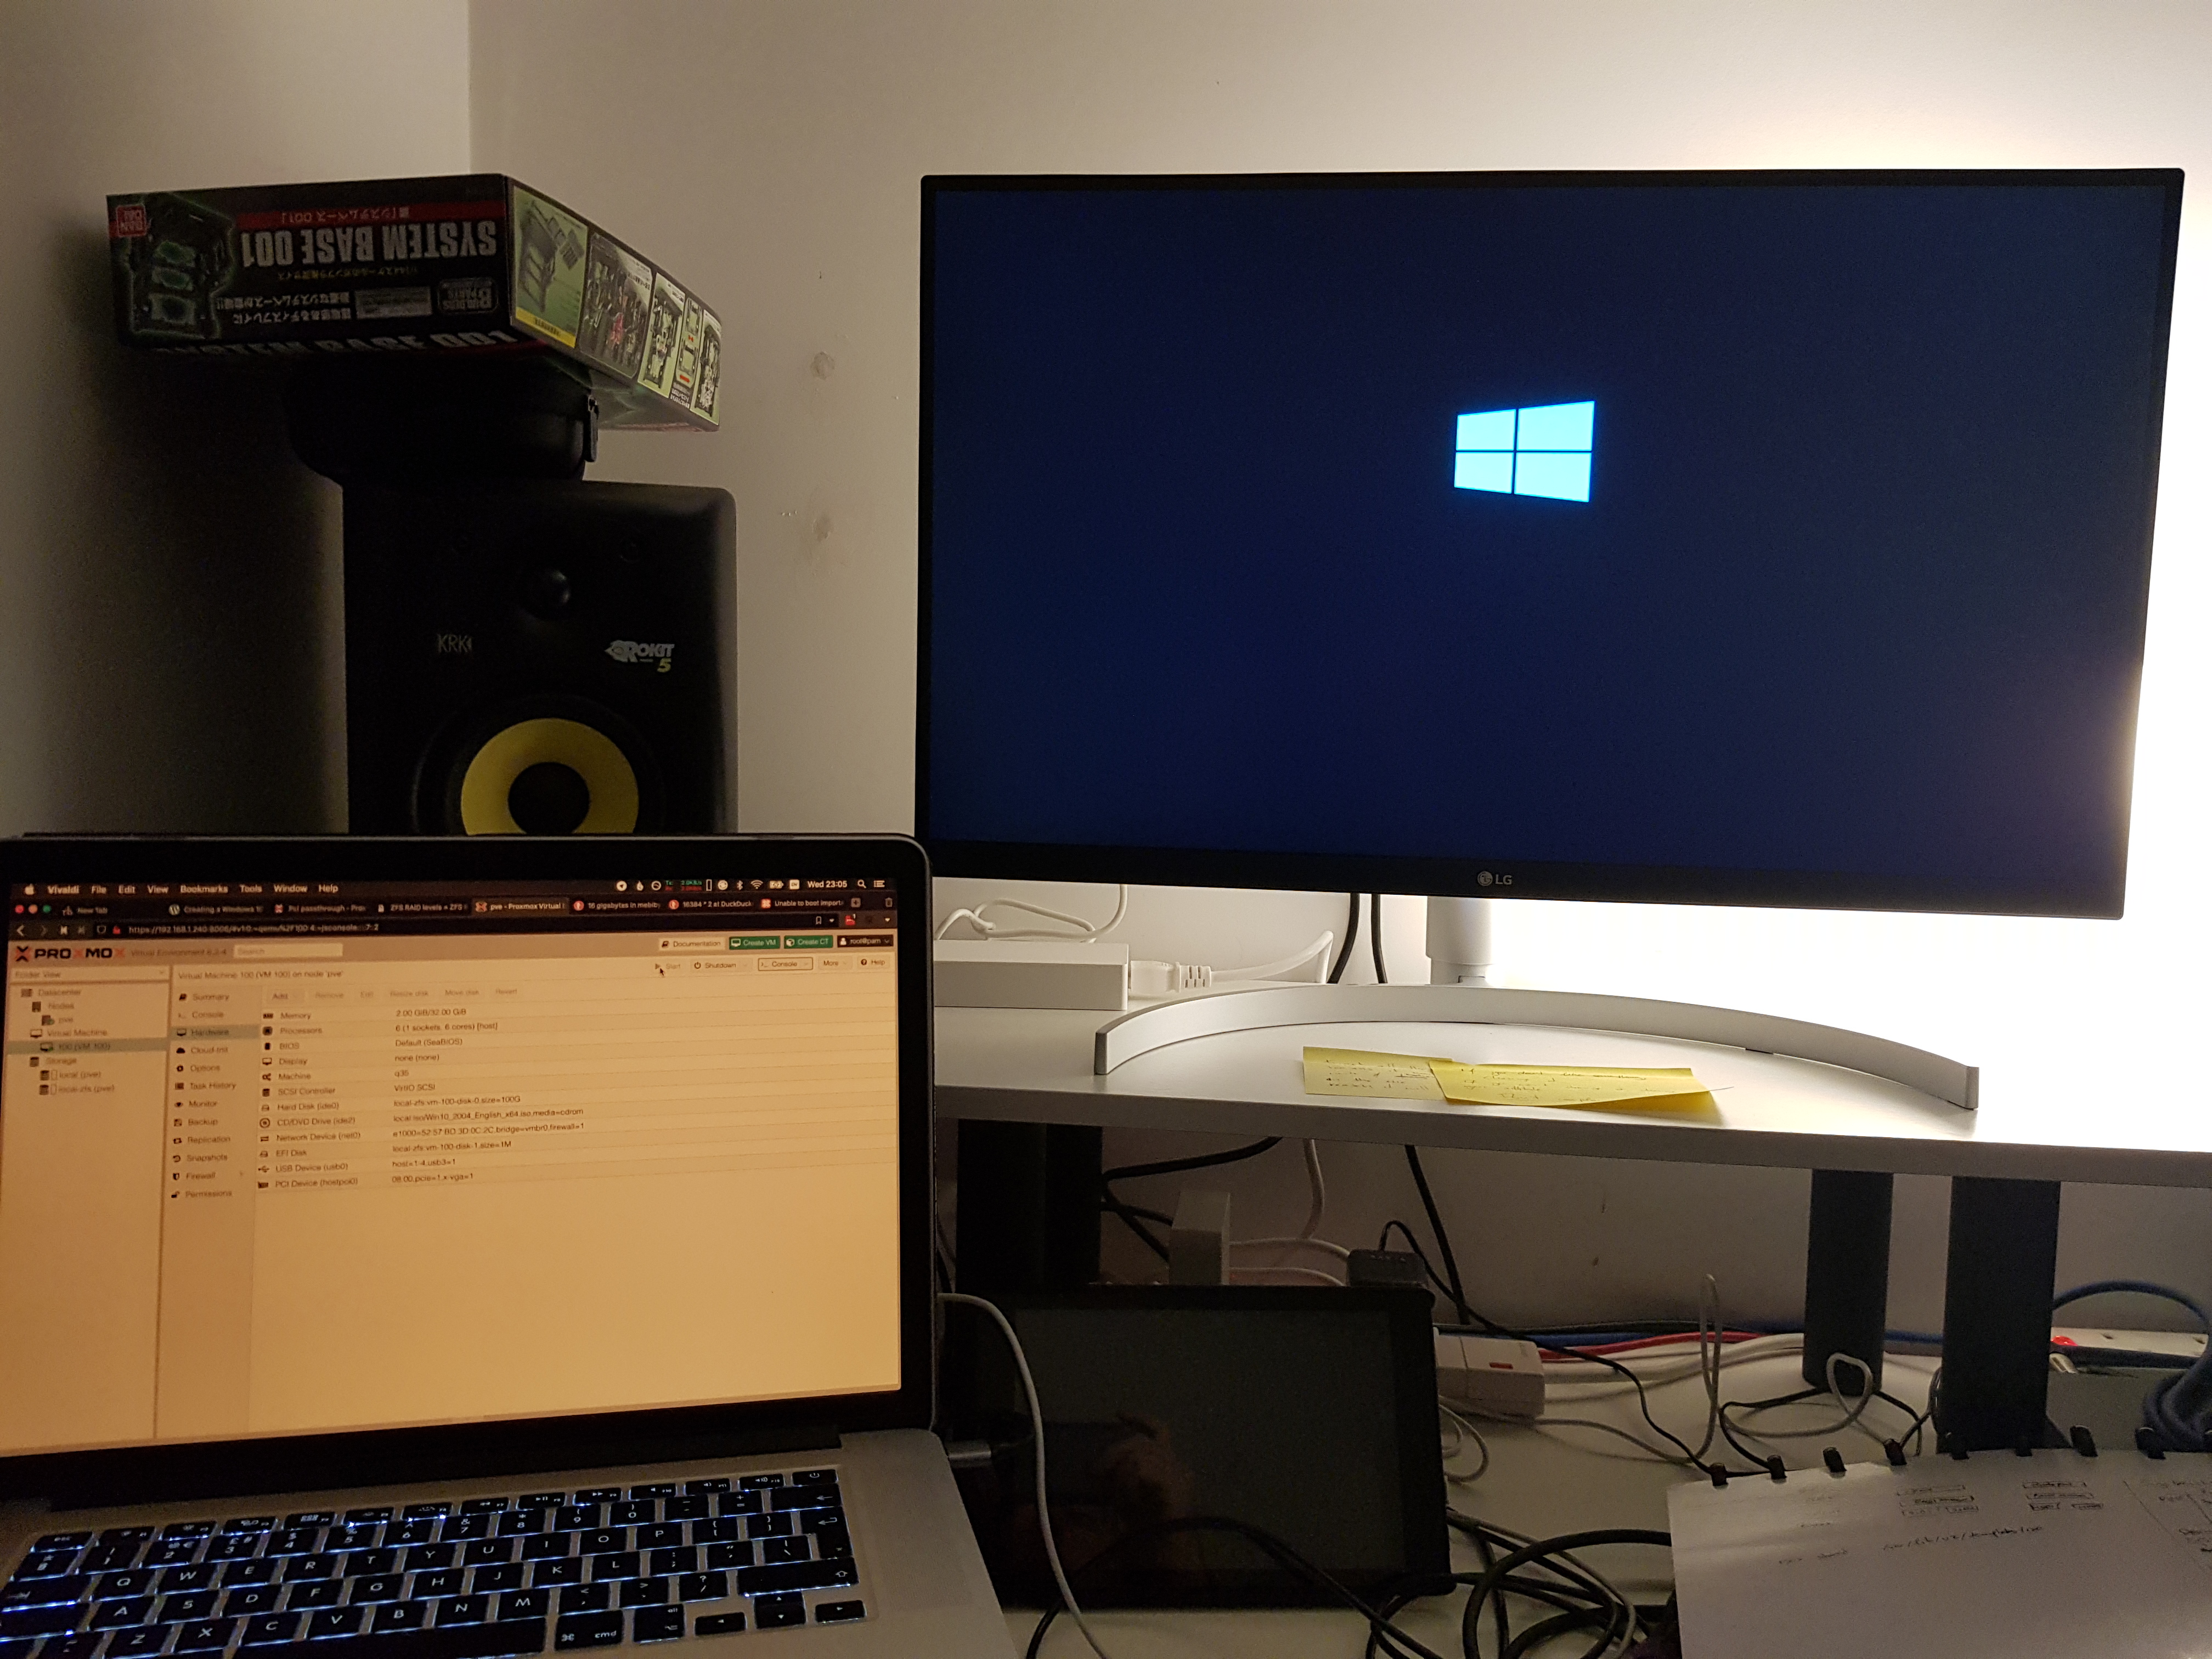
Installing Windows in a VM with GPU passthrough!
Part 4 is about building on the promise of passthrough and getting comfortable working in a virtualised world.