This is a series about my journey in building a multipurpose PC using virtualisation technology and RGB strips. This is the 4th and final part, which is about using this system in anger and working out the bugs! If you missed the beginning, you can jump all the way back to part 1.
At this point I have built a PC, installed Proxmox as the hypervisor, and configured a random collection of Ubuntu and Windows machines. I had a brief play with using OpenCore to install OSX Catalina, but it was neither quick nor easy, so I put that back on the todo list for later.
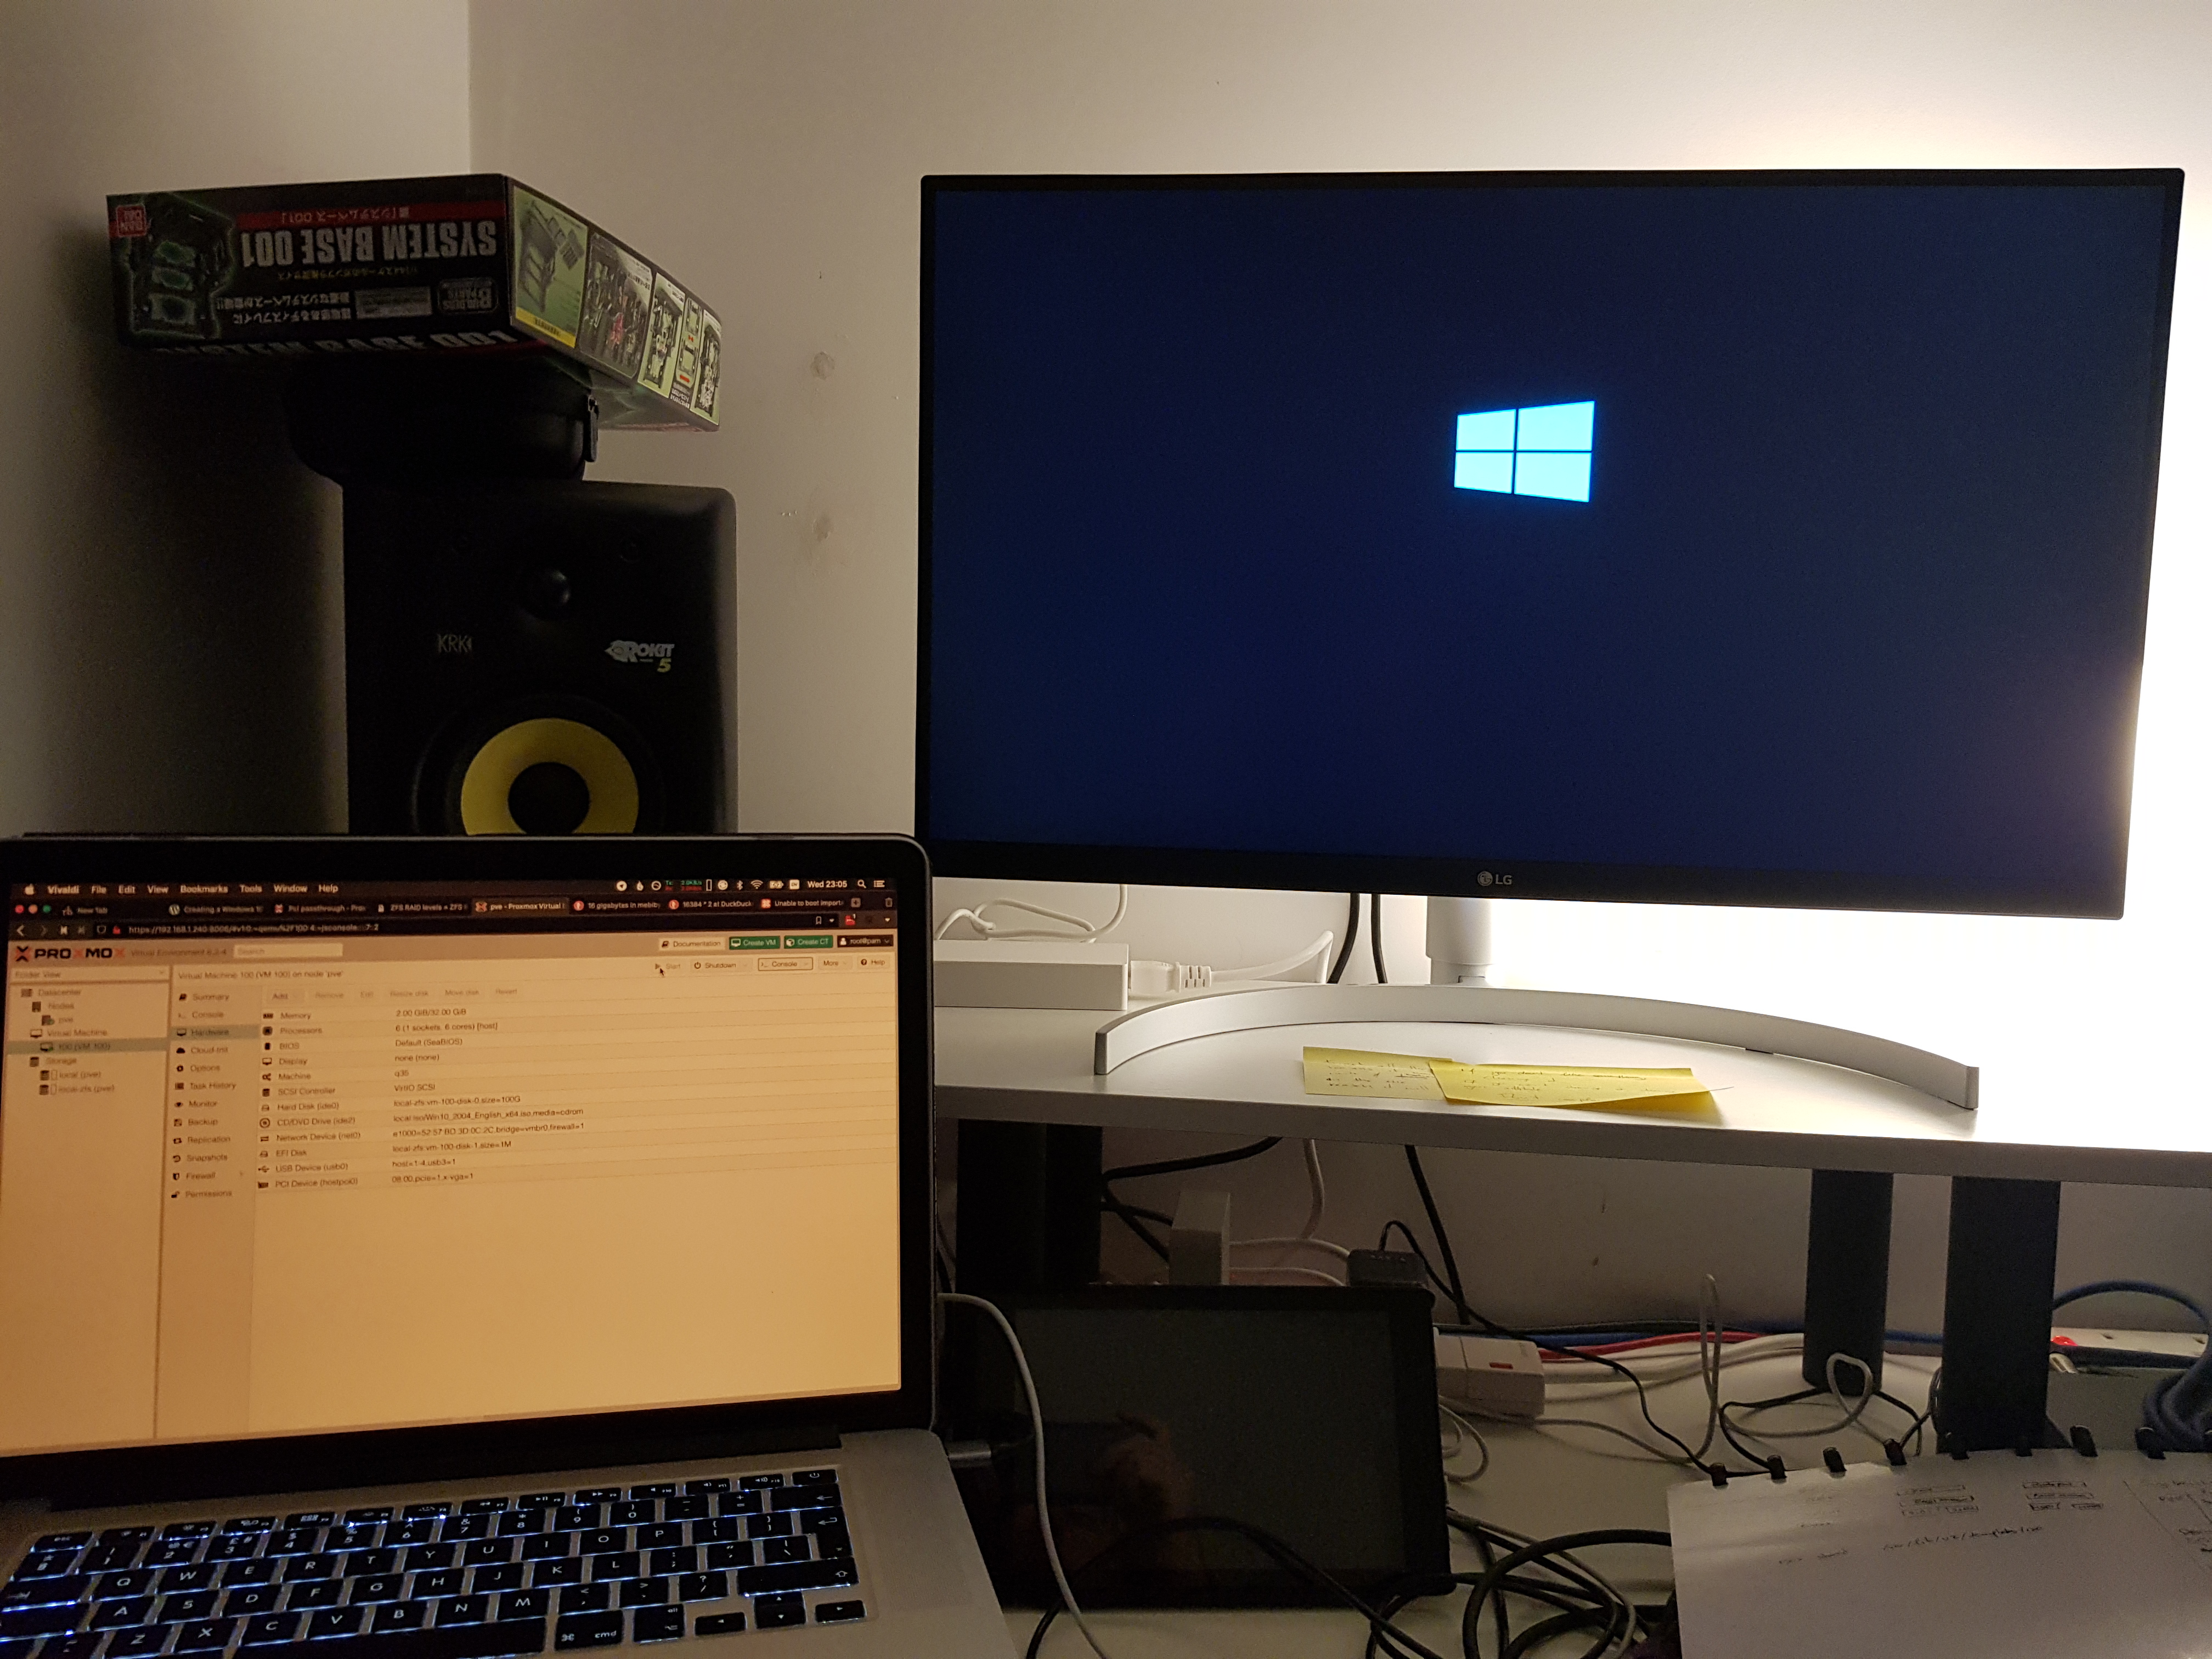
Installing Windows in a VM with GPU passthrough!
What I didn’t have yet was a way of using this machine.
Getting comfortable
I had originally envisioned myself using some Linux desktop for most of my work, and switching to Windows occassionally, so I booted back and forth a few times. I’ll spare the details I played with my new toy for reading email, installed Steam to enjoy the passthrough situation and set up Vivaldi’s bookmark and session sync to get access to my open tabs.
At work, I used a laptop set to Dvorak, and kept my keyboard on QWERTY, because I often undocked and didn’t want to keep changing the keyboard layout. Here at home though, that configuration proved to be extremely annoying because there were so many places for the Dvorak translation to get lost in software. I conceed it was time to do the right thing and I just put my keyboard in Dvorak and left everything else on some variation of English or international QWERTY.
One particularly curious realisation was that I enjoyed the Windows experience more than the Ubuntu Desktop experience. So much so that I just straight up paid for a retail Windows license.
There’s a sentance I was not expecting to type when I started this project. The fonts looked better, the window movement was smoother, launching apps was faster and after a few tweaks, my workflow traversal was easier.
The key things that really helped create that comfort were:
- Using PowerToys to map F10 to an Expose-esque feature called “Task View”
- Making sure my keyboard had the Windows button in the right place
- Exploring some of the many cool shortcuts now available, to get the virtual desktops and such that I was used to on OSX.
Later on, on a friend’s advice, I experimented with PowerToys’ Fancy Zones to provide a fake tiling window manager. My configuration there still needs some work, but it definitely has promise, and I can see it being really key for ultrawide and/or multiple monitors.
Doing some real work
Having gotton my feet literally under the table, and discovered that actually, I’d rather spend most of my time in Windows, now it was time to start using this machine in anger. I’m writing this months after the fact now, so the precise timeline and order of operations is a little fuzzy, but there were some key things that I wanted to talk about, in no particular order:
- NAS setup and storage benchmarking
- VM setup tuning
- USB devices
- Dual-GPU passthrough
NAS setup
In order for this to be a useful main machine, I need access to my documents, and since I’d already committed to the idea of multiple machines connected to an internal NAS, I needed to figure out what that NAS looked like, and how it was going to work.
Before I started copying files aronud, I wanted to be sure that the document storage solution was going to be okay - mirrored drives, with an FS I had no experience of, in both SSD and HDD form factors … there was much to check.
My options regarding shared storage were many, but basically came down to network sharing. Theoretically I could offer fixed size disks to the VMs (of SSD and HDD type), but I still wouldn’t be sharing between concurrently running VMs.
This means Samba/CIFS for Windows and/or NFS for Linux.
Conventional Reddit wisdom holds that one should use the hypervisor for hypervisor things, and an file share server for file server things. One way of doing this is to install a file server as a VM, either passing the raw disk through to the VM or create a large disk image to give to the fileserver.
The other choice (ignoring Reddit wisdom) is to share directly from Proxmox via ZFS.
Storage benchmarking
Convention wisdom aside, I wanted to use some actual data to figure out how to proceed, as performance is the only metric that matters to me here.
The benchmarking methodology wasn’t extremely well researched, but I only needed some relative indications of the two major workloads I could imagine:
- Streaming from Plex - large, static files, mostly read, sequentially written
- Using ResilioSync - lots of small random writes
On Windows I used CrystalDiskMark64, recording the RND4K Q32T16 and Q1T1 read/write values.
On Linux I usesd sysbench with these three commands, mostly:
sysbench fileio prepare
sysbench fileio --file-test-mode=rndrw run
sysbench fileio cleanup
My results were slightly odd.
Key:
rpool is the SSD mirrored pair.datapool is the HDD mirrorred pair.- Turnkey is an LXC container distribution. One of the stacks they provide out of the box is a “file sharing” stack.
- “Second install” was where I did this phase of benchmarking.
- PVE in the target column means the hypervisor is doing the filesharing.
- lxc in the target column means the Turnkey filesystem is doing the filesharing.
- Just the directory path in the target column means it’s running through the filesystem rather than over the network (or at least, that’s the intention).
Observations:
- On Windows the difference between SSD- and HDD-backed CIFS was pretty negligible, compared with NTFS on SSD. I was expecting a much starker difference.
- Linux NFS vs ext4 is also surprisingly similar, for the same media backing.
- Linux NFS read was significantly faster compared to CIFS.
- File sharing speeds from Turnkey were about the same as from the hypervisor.
And the most striking observation: it didn’t matter what I changed (from the blocksize in the test tool, to the filesystem recordsizes, and more), the performance of random writes on hard drives was terrible.
I know I said I didn’t care about absolute performance, but seeing the 30x difference in lots of random writes really threw me, and trialling ResilioSync for 2 minutes confirmed, this was going to be a problem.
I did some searching for causes of slow down, and discovered that compression was already on (and observable) and extended attributes are stored in the inodes. I thought I might be able to tweak ZFS further by getting into playing with the ZIL and L2Arc, but provisional experiments with ramdrives showed no write speed improvements (but maybe I was doing it wrong?).
This is when I learned about CMR and SMR HDDs, what they mean to NAS workloads and most significantly, how they crept into product lines.
CMR are “conventional magnetic recording” drives. They work a bit like record players - one track with a bunch of magnetic spaces on to store your precious 1s and 0s. These are also conventional HDDs. Until recently, I didn’t know there were other types of drive available.
SMR are “shingled magnetic recording” drives, and the data tracks overlap, a bit like shingled roofs. Since the write head of a hard drive is wider than a single track in this configuration, this means writing data requires rewriting any data that’s already written, which adds time.
Under normal circumstances this is just going to slow the drive down, but with ZFS on top of this as well, the slow-down isn’t just annoying, it’s intolerable.
Turns out I had just bought 2x 8TB CMR drives, and my results were casually confirmed by Ars Technica.
I swapped both of the Barracuda out for IronWolf NAS-grade (known CMR), reran a couple of the benchmarks and my final conclusion was broadly:
- The separation of concerns between hypervisor and file sharing server makes sense, but the Turnkey file share container was hard to manage and often slower than serving directly from the hypervisor.
- Linux systems should share via NFS, it’s just faster.
- Windows CIFS sharing was broadly the same no matter what I did.
- Don’t use SMR drives for ZFS NAS systems.
- There are tons of tuning options for ZFS.
VM setup and tuning
The hard drive tuning took a good week and a bit to go through all the variations and explore the changes. Thankfully the VM setup tuning was easier. Broadly, the defaults are fine, but here’s what I learned:
Edit 20210321: Writing this up prompted a quick check and test of my main Windows setup, and the results were quite astonishing. Swapping the network card from E1000 to virtio improved the worst case random read/write benchmark by a factor of 4, and gave a modest 12% bump on the multi-threaded benchmark when working with the HDD-backed datapool. While I was there I thought I’d just check the disk driver situation as well, and realised the Windows VM was pretending to reside on a SATA disk. Good for compatibility and initial installation, not great for speed. Switching this from emulated SATA to virtio SCSI gave me a 4x increase on multi-threaded random reads and writes, and doubled the worst case version. All my Linux boxes were already using virtio for networking and storage.
So it really does pay to get this stuff right!
I’ve mentioned IOMMU and VFIO in previous parts, and I can’t ignore it any further.
An IOMMU (“input/output memory management unit”) is a piece of hardware buried in the motherboard that helps provide abstraction (via DMA) over onboard devices, like soundcards, USB controllers, network controllers, and even PCI-E controllers.
When I’ve mentioned VFIO, I really mean the VFIO driver, which is a part of the operating system (Linux, in the case of Proxmox), and effectively allows a hypervisor to bind a driver to an IOMMU device, and then route that directly to a VM.
I know it’s not exactly what’s happening, but it’s a close enough mental model. There’s some great details around, including here.
The main reason we care is that IOMMUs tend to straddle multiple hardware devices, and VFIO drivers only attach to IOMMUs, not the device. So if you want to route a usb controller to a guest VM, but the IOMMU group contains a network adapter, a USB controller and some internal hardware clock component, you’re SOL. You either route everything, or your system doesn’t function so good. When I got this wrong, I saw kernel lockup failures, the whole system would just completely stall and require a hard reset to bring back up.
USB devices
Broadly I have two categories of USB device:
- Accessories: keyboard, mouse, LeapMotion, camera, 360 wireless controller
- Musical: piano, footpedal, audio interface
The documentation says there are 3 ways of attaching USB devices. Options 1 + 2 pass the device or port to the guest through some software jiggery pokery, and in my experiments these methods were okay for the basic input devices (keyboard, mouse, camera) but the more exotic devices like the audio interface and the LeapMotion were just having none of it.
The audio interface especially wasn’t working well - the sound would skip and pop, just listening to Spotify. That was definitely not going to work for me.
The third way is to lean into virtualisation and passthrough an onboard USB controller (or two) to the guest, which sounds great, except I got lucky with my default configuration which separated the graphics card into it’s own IOMMU group.
Why is that lucky? Because that’s what I needed for GPU passthrough in part 1. It was unlucky because if I’d dug deeper, I would’ve realised that there was basically no other separation. All my IOMMU groups were mixed up and blended, which might be convenient for a hardware designer somewhere, but it sure wasn’t helpful for someone who needed a nice isolated USB controller to attach to my guest VM.
I bought a PCIe 1x USB3 card to populate my last remaining PCIe slot on the motherboard, then plugged that into a USB hub to bring sockets up to the top of the desk and finally plugged all my devices in.
The only one that had any difficulty at all was the 360 wireless station, which wasn’t an official Microsoft one so needed some regedit hackery, and then actually turned out to want to draw way more power than my (powered!) USB hub wanted to give out. I plugged it into the USB card directly: problem solved.
The LeapMotion controller worked fine, but it’s very clear they’re not supporting the SDKs and APIs I was using it with. Not a huge surprise really.
And everything else … just worked. The audio sorted most of itself out (once I removed the ASIO4all driver - audio on Windows is another post!).
Dual GPU passthrough
I tried casually a couple of times to run two Windows VMs, each with a different GPU, without success.
Then I tried everything I could think of to get it working, without success.
I tried two different guides for setting up a single GPU passthrough situation. I wasn’t prepared to update my BIOS version, but I did check into a variety of other things.
-
IOMMU groups. Like everything else, passthrough requires actual IOMMU group separation, and I didn’t have isolated enough groups. This made me investigate the options more, and realise I’d not ticked one of the (many) virtualisation related options in the BIOS. This gave me everything isolated, which will allow me to plumb in more USB sockets to VMs in future. This is actually what I should’ve discovered to help get my USB all up and running.
-
Proxmox configuration. The general approach is to add the graphics drivers to the modules ignore, ensuring the grub commandline is setup to disable the console. Everything we can think of to ensure the graphics cards aren’t being used by the host at boot time.
-
GPU BIOS loading. Some GPUs (nVidia, mostly?) need reinitialising when they’re pulled in from the host system. Pulling a GPU bios and loading the ROM when the VM is started seems to be sometimes the answer, but not for me.
-
GPU socket and type. I tried to swapping the sockets over, I tried to swapping the cards between sockets (not at the same time), I tried playing the tricks with the bios ROMs on both cards.
-
Guest OS. Linux and Windows both did the same thing.
The resultant behaviour was I could get something on screen, but in the case of the aTI card it was a horribly mangled mess (like when you see a “dead” GPU - all lines and out of focus). In the case of the nVidia, it was just blank.
After at least a whole weekend of trying, systematically, to get dual GPU/VMs running, I came to the conclusion that my X570 Aorus Elite motherboard does not like ceding control over whatever GPU is configured as the primary; socket immaterial.
I can say that with confidence right now that the combination of motherboard and GPUs I own won’t do this.
Linus Tech Tips made a video about 7 gamers 1 PC, and Craft Computing has done a great job of logically extending GPU passthrough to cloud-gaming-server-at-home if you want to see more.
Current state
So after all of that, what’s the current state?
I have a single computer that comprises …
- Proxmox with multiple VMs available.
- Windows desktop has the dedicated graphics card and USB3 PCIe card with 12 cores and 32 GB of RAM.
- Ubuntu desktop running CLI-only for SSHing into.
- Ubuntu server VM running Plex, Resilio Sync, Portainer and Homer (4 cores + 16GB ram)
- Multiple test VMs variously being spun up and down.
- Proxmox host machine with a (lesser) dedicated graphics card.
- Proxmox ZFS shares out to NFS for Linux machines and SMB for Windows (remaining cores + 16GB ram)
- 8TB mirrored storage.
- 2TB mirrored VM boot drives.
- Extra fan + fan controller for the front of the case.
- Orange glow.
I am far too happy with the orange glow.
I didn’t talk about the setup of the Ubuntu Server, but it’s nothing particularly special: the services run in Docker containers, controlled by systemd unit files (either via docker directly or docker-compose). The biggest challenge in setting it up really was figuring out how to mount NFS shares into the containers. The answer, as it turned out, was to actually just mount the NFS shares as an NFS volume container. This really was the magic sauce to ensuring that Resilio Sync was running as my user, rather than trying to chown everything to root.
Future
While I’ve done a lot to get this far, there are still some things I’d like to investigate as both optimisations and just general good practice.
- Internal NFS/file transfer network - pure virtio, masquerading as 20Gb+ link, hopefully skipping most of the TCP stack to move things faster.
- Bandwidth throttling, but only for internet - easy accomplished with Proxmox, but it’s done at an interface level, so to keep things moving at full speed inside the net, I a separate internal-only network as above.
- Firewall systems - yeah, I should probably do something about defense.
- Passwordless SSH between systems - actually accomplished some of this with Ansible recently!
- Fan control and warnings in BIOS - do I have the right fans connected to the right headers with the right warnings? No idea.
- Hardware monitoring system - as at least partially a server, it’d be nice to have something setup (like Zabbix) to give me some comfort everything is working okay, or alert me if it’s not.
- ZFS regular scan set up - I don’t actually know what’s automatically running looking after my system. Recently we had a brown out and I have completely failed to buy a UPS, so my whole system went down. I ran ZFS scan and everything was fine, no problems found, but I don’t have that confidence it will always be that way.
I would also like to improve my workflow when it comes to setting up VMs and servers from a standing start. I’ve made a start with Ansible, which is definitely another post.
Conclusion
For me, there is no doubt that virtual computing at home is the future of computing.
Steve Jobs was adamant that the best computing platform is the one where the hardware and software is tightly wound together. As computing horsepower spreads out further from just a single computing device into many, the need to mix-and-match architectures, software, OS, hardware is just impossible to get away from.
Apple’s solution to this home compute-creep is to normalise their hardware, so their software runs everywhere. Microsoft is doing it’s thing with Windows, and just diversifying into being a cloud provider with Azure. Cloud providers are banking on people never having home compute capability. And we as consumers are stuck between these conflicting paradigms.
Luckily, there are a ton of smart people out there, like the people at Proxmox, who are making it easier to bridge these gaps, and having my own “desktop compute server”, not dissimilar in construction to a homelab (although a little different in purpose), gives me more choices at the same price point as an enthusiast machine with negligable performance compromises. I don’t have to run a server, I don’t have to hide anything in the garage or the loft.
Should every PC owner be doing this? Probably not. But if we’re still playing with PCs in 10 or 20 years time, I could see the starting abstraction for a computer being a pre-installed hypervisor, with a nice splash screen that says “what do you want to install first?” instead of the BIOS. Not a dissimilar experience to that of setting up a Raspberry Pi with NOOBS, perhaps.
Back in part 2, I commented that I wasn’t fully committed to a new PC, and so I stayed in the research phase probably longer than necessary. Having come out of the other end, however, I can say without irony or a stutter that I absolutely adore this machine.
If I had some spare hardware, and I wanted to try and make a Linux box play games, I would totally have messed around with Looking Glass and turning that desktop machine into a hypervisor. Looking Glass provides a way of writing the rendered output of the GPU into a buffer you can read in Linux. Like a really fancy VNC window.
Starting from scratch, however, placed me on the path of options. The multiple CPU cores and absurd RAM quantities have allowed me to adjust and reconfigure things. I’ve built multiple test VMs for experimenting with different docker services and how Ansible works. I’ve got a clone of Github and Github Actions running as a local buildsystem (Gitea & Drone), nicely separated. I can run multiple workloads (file sharing, media streaming, remote gaming, compiling), each with the right setup and resources without having to spec everything up front.
I would not have done these things without the capabilities provided. So I’m sold. If I can put a hypervisor on a machine before the OS, then I absolutely will.
Finally, all I really set out to do with this series was publish some of the links I found along the way. While most other people would have bookmarked their links and just enjoyed a working PC at the end of long build process. I expended approximately 8,000 words just to be able to delete some bookmarks and make sure I’d got them referenced somewhere.
I suppose it’s on brand, when you consider the starting point of this whole build was to save spending another £70 on a 4TB USB drive.
This final part is dedicated to Ed of The Self-Hosting Blog who has apparently been waiting for this conclusion for a while. Sorry Ed, I got side tracked! If you wanted to do more than just get Proxmox running, they do a great job of showing you what sorts of applications you can run on your fancy new desktop homelab.